Impulse Excitation for Additive Manufacturing: Defect Detection in 3D Prints

Impulse Excitation for Additive Manufacturing: Defect Detection in 3D Prints

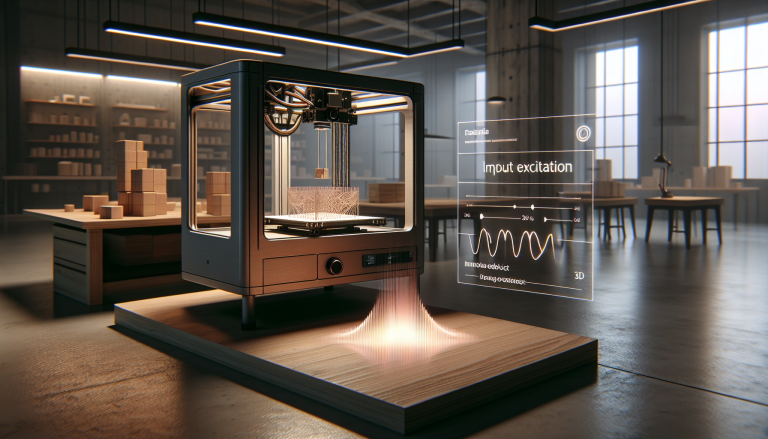
Impulse excitation is revolutionizing defect detection in additive manufacturing. By applying controlled vibrations to 3D prints, this technique identifies anomalies that traditional methods may overlook. The rapid feedback from impulse excitation not only enhances quality control but also optimizes production processes. As industries increasingly adopt additive manufacturing, understanding and implementing these advanced detection methods will be crucial for ensuring the integrity and performance of 3D-printed components.

How Aerospace Parts Are Tested Without Breaking Them

How Aerospace Parts Are Tested Without Breaking Them

In the aerospace industry, ensuring the reliability of components is crucial, yet destructive testing isn't always feasible. Advanced non-destructive testing (NDT) methods, such as ultrasound, radiography, and eddy current testing, play a vital role. These techniques allow engineers to detect flaws and assess the integrity of parts without causing damage. By employing these innovative approaches, manufacturers can maintain safety standards and extend the lifespan of aerospace components, all while preventing costly failures.

The Science Behind Frequency Peaks and Their Movement

Understanding the causal science behind frequency peaks and their movement reveals the intricate dynamics of various systems, from economics to natural phenomena. Frequency peaks indicate moments of heightened activity or response, influenced by underlying factors such as external triggers, cyclical patterns, and internal feedback loops. By analyzing these peaks, we can gain insights into the stability and resilience of systems, enabling us to anticipate changes and adapt strategies effectively.

How to Measure Relative Porosity Accurately

How to Measure Relative Porosity Accurately

Measuring relative porosity accurately is crucial for understanding fluid storage in materials. Begin by carefully selecting your sample, ensuring uniformity. Utilize the water displacement method for a straightforward assessment: submerge the sample in water and note the volume displaced. For precision, also consider using advanced techniques like nitrogen adsorption or X-ray tomography. Remember to account for any trapped air to ensure reliable results. Regular calibration of your measuring tools is also essential for accuracy.

De-Risking Additive Manufacturing Through Non-Destructive Testing Methods

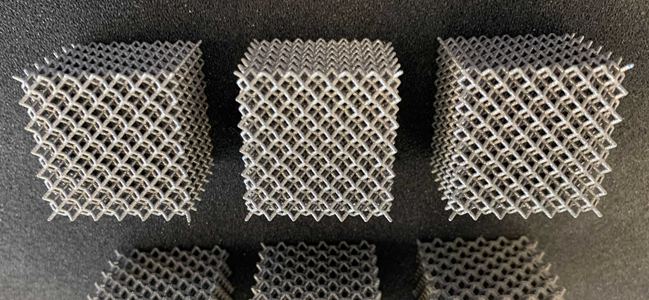
As the adoption of additive manufacturing (AM) grows, so does the need to ensure part integrity and reliability. Non-destructive testing (NDT) methods play a crucial role in de-risking AM processes by identifying potential defects without compromising the components. From ultrasound to X-ray techniques, integrating NDT early in the production cycle enhances quality control, boosts confidence in AM technologies, and ultimately leads to safer, more efficient manufacturing outcomes.