Impulse Excitation vs Destructive Testing

Impulse Excitation vs Destructive Testing

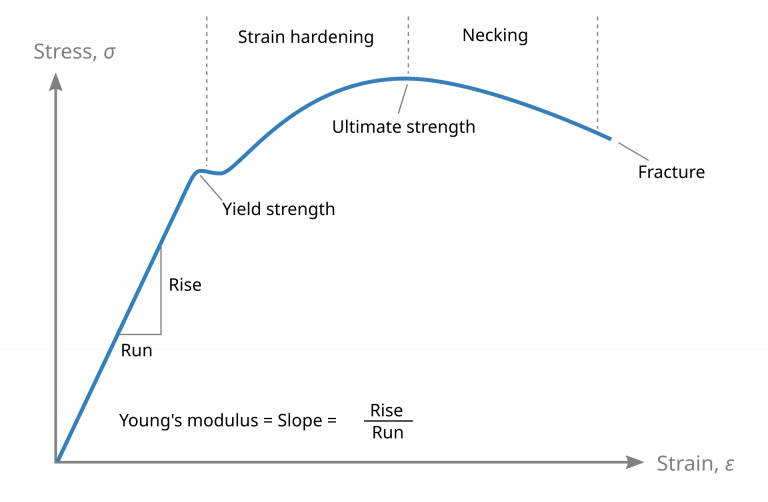
In the realm of material testing, understanding the difference between impulse excitation and destructive testing is crucial. Impulse excitation offers a non-invasive approach, allowing for real-time assessment of structural integrity without compromising the material. Conversely, destructive testing provides definitive results through the material's breaking point but at the expense of its usability. By prioritizing impulse excitation, we embrace a philosophy of measuring reality over mere assumption, leading to safer and more efficient engineering practices.

By Nicoguaro - Own work, CC BY 4.0, https://commons.wikimedia.org/w/index.php?curid=89891144

From Motion to Modulus: How Vibrations Expose Rigidity

In the world of materials science, vibrations serve as a powerful diagnostic tool. By analyzing how structures respond to various frequencies, engineers can uncover hidden rigidities that may compromise performance. This blog post explores the fascinating relationship between motion and modulus, revealing how vibrations not only expose weaknesses but also inform design choices. Join us as we delve into the science behind this vibrational insight and its implications for the future of engineering.

De-Risking Additive Manufacturing Through Non-Destructive Testing Methods

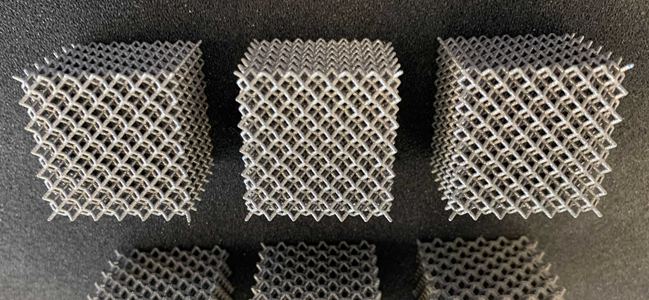
As the adoption of additive manufacturing (AM) grows, so does the need to ensure part integrity and reliability. Non-destructive testing (NDT) methods play a crucial role in de-risking AM processes by identifying potential defects without compromising the components. From ultrasound to X-ray techniques, integrating NDT early in the production cycle enhances quality control, boosts confidence in AM technologies, and ultimately leads to safer, more efficient manufacturing outcomes.

What an Impulse Can Tell You About Material Quality and Strength

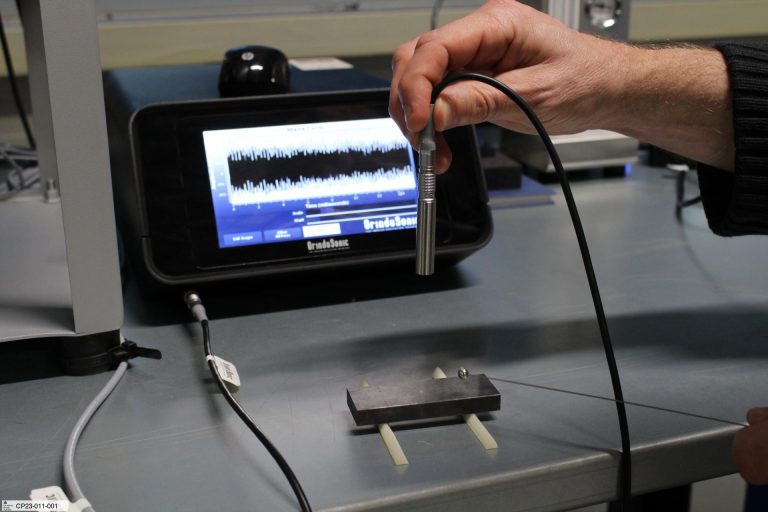
Resonance frequency testing uses motion to reveal what’s really inside a material—how stiff it is, how consistent, and whether anything’s hiding beneath the surface. With just a tap, engineers can read how the structure resists internal motion. This makes it a fast, non-destructive way to evaluate quality, detect flaws, and confirm material performance—across metals, composites, and advanced manufacturing. It replaces assumptions with real physical behavior, helping teams catch problems early and make better decisions with confidence.

Precision Mechanics Parts

GrindoSonic® MK7 measuring technology enables you to map the full mechanico-elastic fingerprint of components and assemblies and assure: Consistent quality of parts and (sub)assemblies Crack detection Mechanical performance measurement Optimizing manufacturing processes For determining the elastic properties of Precision Mechanics…

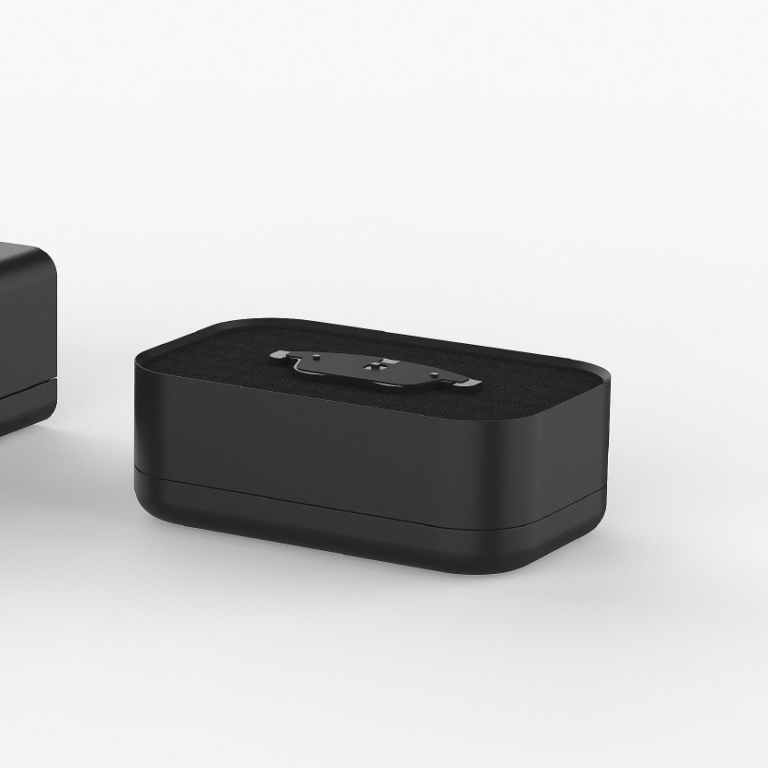
Friction Materials and Brake pads

An important factor for brake noise reduction is tuning the resonance frequencies of the main components such as disc, caliper, bracket and brake pad, in order to harmonize them.  Brake pads can show a significant spread in the resonance frequencies…

Cement, Mortar and Concrete

Whether it is for testing new mix designs or testing for quality and reliability post production, the compressive strength and tensile strength are the most important mechanical tests executed on cementitious products. Tensile strength tests can be carried out to…

Grinding and Abrasives

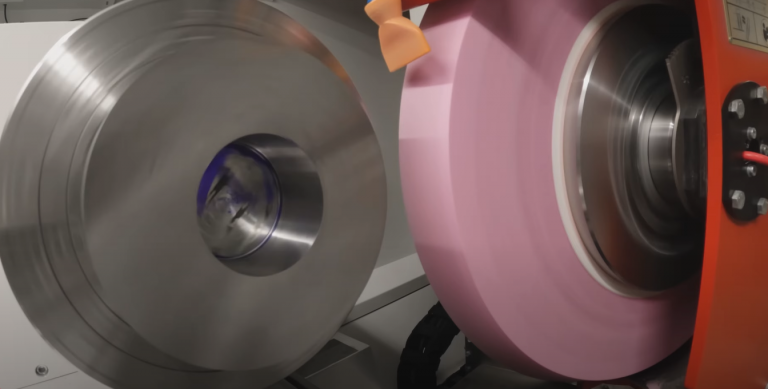
GrindoSonic is the proven tool for quality testing, quality surveillance and material characterization in the grinding and abrasives industry and is successfully operated by industry and research institutes & universities alike. With its special focus on grinding materials and over…

Metallurgy

Metals have an extensive amount of physical properties, such as being good conductors, high melting points, high density, good malleability and good ductility, which gives a strong importance in a vast amount of applications. More than 90% of the materials…